We spent 3 months ripping apart and rebuilding the family room. The biggest reason to do this was the addition of a laundry closet, as the washer/dryer were in the garage. Off the family room is a bathroom and next to the bathroom was an alcove which was the perfect size for a laundry closet. We also ripped down the wall to the bath and installed a pocket door. The old door swung out into the family room and prohibited placement of furniture nearby. Since I had the walls ripped down, I also ran speaker wire for surround sound speakers. Oh yeah, and the old wallpaper was awful!
The ‘Before’
The future laundry closet  The bathroom door that sticks out
  Great wallpaper!


 The ‘Destruction’
Step one, remove drywall  Step two, remove old door framing
  Step three, insert new pocket door framing
  Step four, build laundry closet header for future bi-fold doors
  Everyone’s favorite home improvement task, plumbing! I had to turn the plumbing around as the washer was on the other side of this wall in the garage.
  Next challenge, drywall taping – at least the sloppy plumbing is hidden behind drywall.
  The ‘After’
The finished bathroom wall, with pocket door and laundry closet behind the bi-fold doors. There’s also much better wallpaper in the bathroom (only half-way up) with little pine trees on it and a border with pine cones.  Not all wall decorations are up yet in this photo. We also put pine planking on the little half wall sticking out under the window. This room is in the lower level so there is the cement foundation behind the half wall.
  Denise made curtains and a header. The header uses the left over wall paper border from the bathroom
 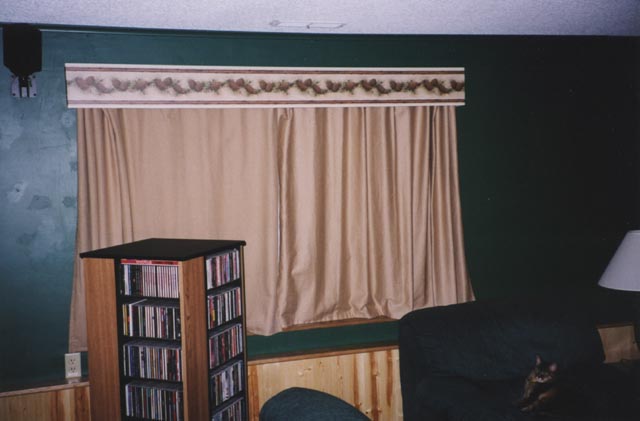 Finally the finished laundry closet. This was the first plumbing project that I’ve ever done that has not turned into a curse-fest.
  Yeah, the color is dark green, but it makes for a great home theater room.