The current home improvement project is the ‘Library’. We are converting the Living Room into a Library. (Denise has a lot of books). There is a vaulted ceiling, so one wall will have an 11 foot tall bookcase with a rolling ladder. The other wall will have two normal sized bookcases. Carpeting will be replaced by hardwood flooring. Phase one is improving the look of the fireplace. Phase one of phase one is pulling down the old fireplace and rebuilding it. Phase two of phase one will be to install the stone veneer on the fireplace to make it look a lot better than the 1970’s red brick.
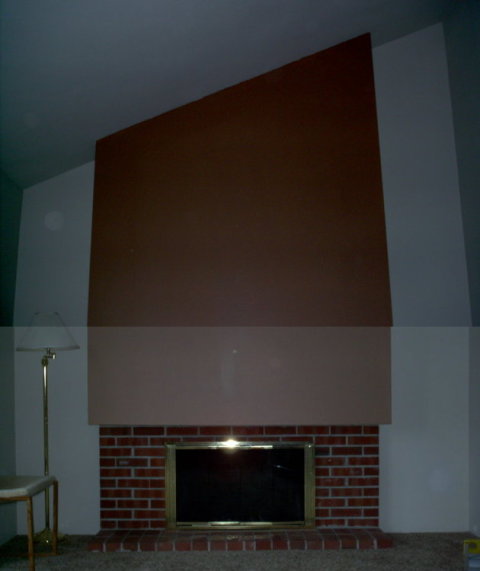
Before – The old fire hazard – I mean fireplace – had a wood framed, drywall covered box that protruded 10 inches from the wall. It was 6 inches above the opening of the fireplace. According to all the codes that I’ve seen, for every inch out, you need to be 8 inches up. 10 inches means 80 inches, not 6. 

 During – Without going into too much detail, I needed to build out the framing to make the entire surface flush, so when I put on the stone veneer, it all lines up vertically. Metal studs were used to build out the framing. Don’t ever work with metal studs if you don’t have to. Sure, they are fireproof and a breeze to cut, but they are flimsy and there isn’t much to hold a screw. And I stopped counting how many screws popped off the drill bit as the “self-drilling” screws tried to start a hole. The previous builders left their Pepsi cans from 1973 in behind the fireplace wall. It’s funny to see a can made of steel and with a pull tab. I left them there for the next person who rebuilds the fireplace.


 After – The final step is the installation of cement board. This was installed at the same depth as the front of the brick so the stone veneer will line up. This stuff’s pretty heavy. (the light reflected funny or my camera is dirty)
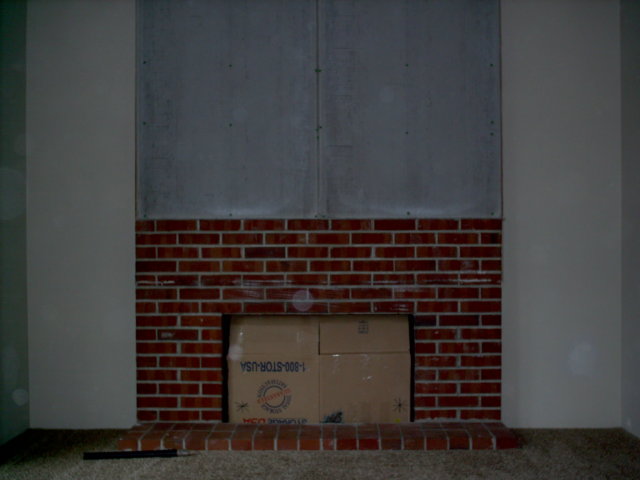


 Stay tuned for the installation of the stone veneer.